Sunday, January 25, 2015

Ugly - Nice Bookshelf

                             "Logic will get you from A to Z,
                 imagination will take you everywhere"
                                                                                                              Albert Einstein 

  We bought this bookshelf 2 years ago, while we were quite broke. Neither of us liked it, but it cost 10 dollars so we decided to take it home. In our last apartment it was in our living room, and I made a curtain to hide some of it's hideousness. When we moved, it ended up relocating to my sewing room/salon room. I built wooden crates to go inside of it, but that did little to help me learn to like it. So finally I decided to paint it. Here are some pictures of that journey.


 Here's the before, the shelf is made out of laminate so I decided to use oil based paint to cover it.  

             I slightly sanded the shelf just to help the paint stick to it.


I did two coats of paint. 


     So much better!! It's so much tidier looking as well, all the fumes were well worth it.


I hope this motivated you to tackle whatever eyesore that might be bothering you, after all the solution might be as simple as paint!


Monday, January 19, 2015

Laptop Case

"I am Creative 
you can't expect me to be neat too"!

  Whoever said this was a wise soul, I love having a tidy house, but as soon as creativity strikes that's all I can think about until I am done whatever project I started. So onto the project, and guess what it's a laptop owl case! 


This was my rough sketch of my project, and I must say I really stuck with my drawing for once, usually I will draw something, and change it up as I go along.


Because laptops are all different sizes I can't provide you guys with a specific pattern, but this owl case is super easy to modify, that being said I will write down what I did.

Small quantity of black yarn for the eyes
Bernat Satin yarn medium weight 4. in 2 complementary colours
5mm crochet hook
Beak shaped object (I made one out of wood but you could also use a button or make one out of yarn)
White fabric or felt for the eyes
Fabric for the wings
Thick thread or yarn for sewing your fabric onto the case


Start out with a chain I chained 34 +2(but my laptop is tiny) this should be a bit longer than the width of your computer.
Sc into the 2nd chain Sc all the way to the last ch, in the last chain put 2 sc to help you start to work in rounds. Sc all the way across and put  2 sc in end st. Keep working in rounds I did 12 rnds, before I changed colours as you can see you in the picture below.

 I did 3 rows of my blue yarn and switched back to the gray, normally I will carry the yarn along underneath of the sts, but for this project it really messed up the symmetry of the case.
           Keep switching between your 2 colours, I did 4 blue stripes 
     Switch back to grey and keep working in rnds, I did 40 rows but again that would depend on the size of your laptop. In my picture you can see where I started each row, but don't worry about that because it will be covered by the wings. I switched back to blue just to make a nice band around the top, I did 3 rows.
 Now we are going to start making the flap, count your stitches to see where your flap should begin, I personally eyeballed it but it's up to you how precise you want to be. 
  We are going to start working in rows now.
 1-4. sc st. 
 5-9. (start to dec,) dec one on each end normal sc in-between 


10-12. skip the first st dec on next 2 st, normal sc till the 3rd st from the end skip it, and dec on the remaining 2 sts. 
13. Dec one on each end normal sc in-between.
14. Normal sc
15-17. Dec 1 in middle


  This is what it should look like, of course if you do have a bigger computer you will have to add more rows, and adjust everything quite a bit for it to fit. Now that we have the base done, you can start with the fun part, customizing!

 Cut out two circles, from your white fabric.  


  Cut out two wings, whatever shape you like. 
                    It should look something like this.

 Crochet 2 black circles, I did 16 dc into the magic ring, but it just depends how big you want the eyes to be. 


Stitch your eye onto the white fabric.  


  Stitch your white fabric onto the crochet base. 


                                              This is both  of the eyes stitched on.


Start stitching on the wings. 
I painted the beak with this pastel yellow, and then covered it with modpodge. I used pastel yellow yarn to make a loop for the beak to go through.


Attach the beak. Sew in all of your loose ends.
And there you have it, I'm still not convinced of the orange stitching for the wings and I might change it, If I do I will show you guys an updated picture.
                                                                Have a great day!!!

Tuesday, January 13, 2015

Baby Shower


You are braver than you believe, stronger than you seem, and   smarter than you think.
                     Winnie the Pooh


   I can't believe I'm at that stage in my life where my friends are having babies, real live human babies. This is crazy for me to comprehend and I'm not even the one having the babies. All that being said this is one of my best pals baby shower, I helped with the decoration, and some of the food.

  For this baby shower we went with the theme "Cute as a button."


   This diaper cake was super quick, but wow diapers are expensive. Kudos to all the moms and dads out there who buy diapers all the time, this cake also took way more diapers than I thought it would! 


   It turned out super cute and was well worth it, plus all new parents are happy to get free diapers. I added some spoons, soothers, and a plush toy on top.


    Isn't this cake so cute, my friend who is still in high school made this, she is so talented!!!


     The only purpose of this picture is to make you super hungry for                         cupcakes. 


  I cut out these super sized buttons with a scroll saw, and drilled holes into them. I used acrylic paint did a few coats, and tied some twine through the button holes.


This monkey was actually made way after the shower but I included it because it kinda matches the whole baby shower theme.
     
   
    So back to owls (obsessed),  which happen to match the monkey. This owl mobile was a present for the baby shower, I didn't bother wrapping it, and just added it to my shower decorations. It added some nice crocheted details to the baby shower.


                                                                                                 Here's the heart link   http://www.monmakesthings.com/2014/02/mini-crochet-heart-pattern.html


                  The pattern I started out using for the owls was this one, 
                       http://www.craftpassion.com/2013/10/owl-      amigurumi-mr-murasaki.html/2
      I adjusted it as I went along to make all the different sized owls.


Here's the link for the crochet balls 
The mobile portion is pretty self explanatory, anyways I hope you guys enjoyed all the pictures.
P.C. Thank you Paula!!!

"To live a creative life, we must lose our fear of being wrong."
                                                      Joseph Chilton Pearce

Sunday, January 11, 2015

Blast from the past!!!!!!!

  
Creativity is intelligence having fun.                 Albert Einstein
    
       
     So to start out this blog I am going to post some of my old projects.  A few years ago, we were tight financially, and Christmas was coming up. So being creatively minded,  I decided to make everybody's presents. Little did I know how much time and energy this would entail, but I had a blast regardless of all the hard work I put into it.  In the future I will try to post some tutorials, if a project wasn't my original idea than I will put a link underneath of the picture.  Sorry for the poor quality pictures, I will try to take better ones in the future, but because I have already given a lot of these projects away, I can't take new pictures. If you see anything on my blog that you would like a tutorial for, leave me comment, and I will do my best to post a tutorial.


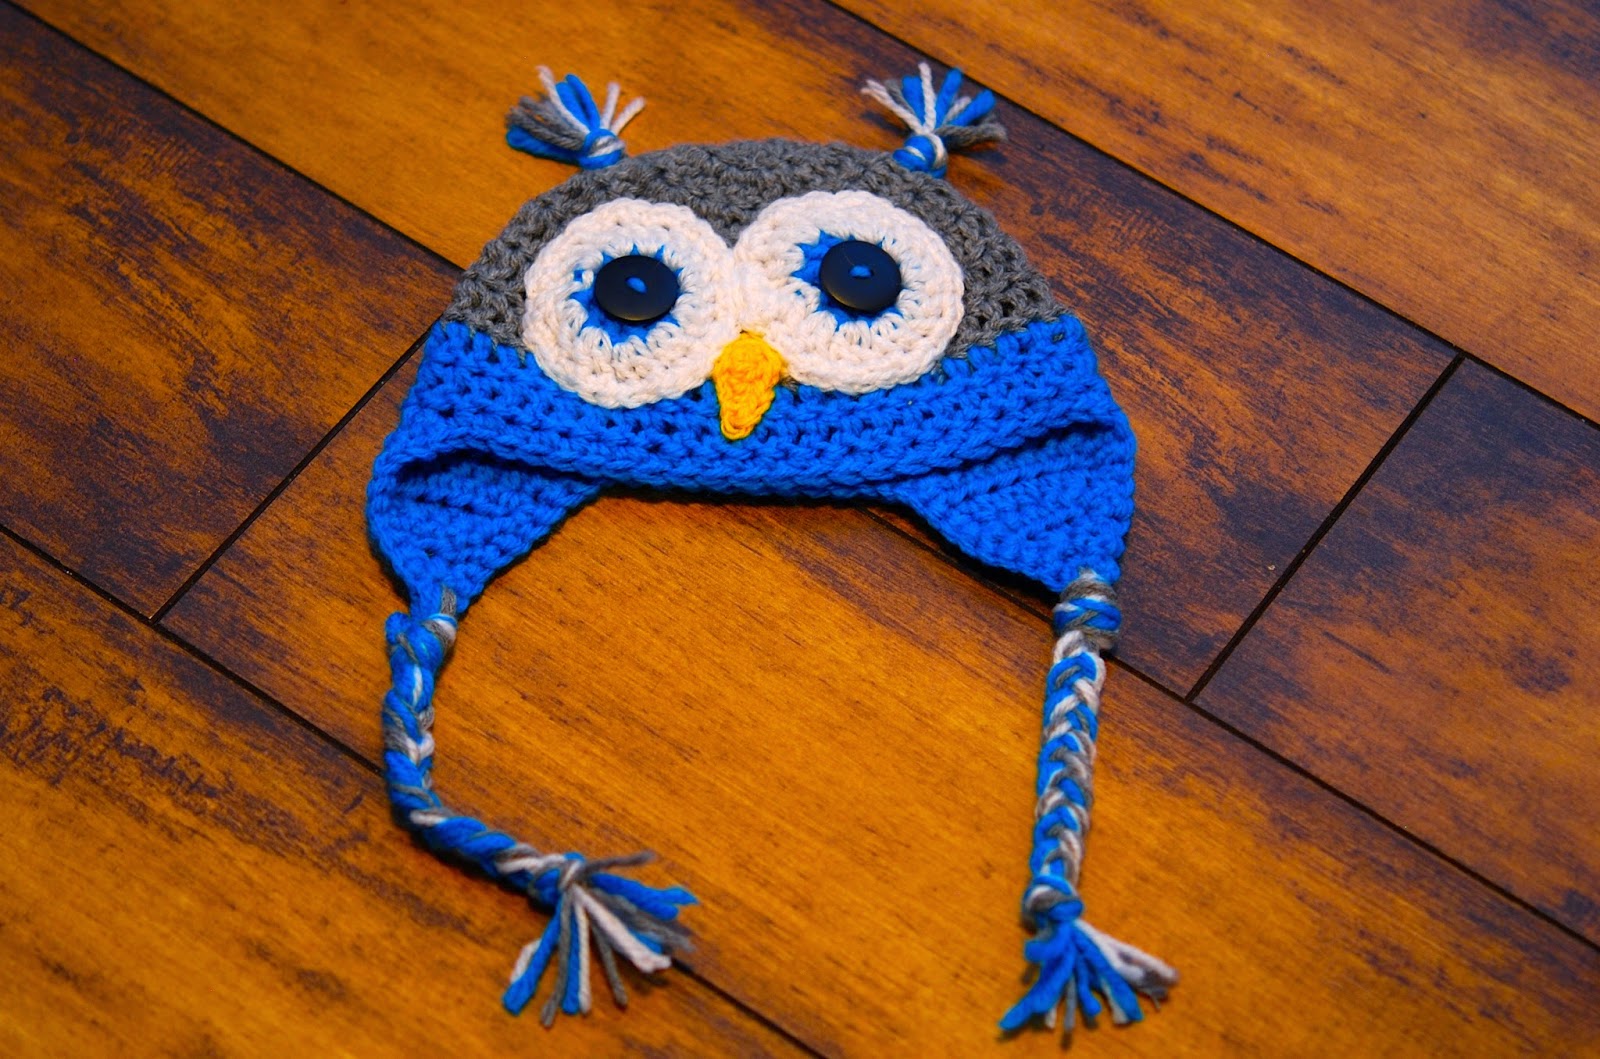
These lovely owl hats, are quick fun projects. I am slightly obsessed with owls so you will be seeing a lot of them!!!


                                       https://www.youtube.com/watch?v=k7nHei9Xbns
       I'm not positive that this is the tutorial that I used to make this hat but I believe it's pretty close.

This hat was inspired by pinterest, I just used a basic hat pattern, and added the details myself.
I hate paying for crocheting patterns but these were so cute that I just had to make them. These ended up being a present for my baby cousin, I wish I could have gotten a picture of her in them, but she lives faaaaaaaaar away.
This was entirely my own idea, I may have seen a picture somewhere with the general shape of this bag, but other than that this was my own brain child. I originally thought that I would keep this bag, but we accidentally forgot somebody on our christmas gift list so I ended up giving it away. Which is completely fine with me because I got to make myself another bag, I will hopefully show you a picture of that, and maybe even a tutorial, in an upcoming blog.
 
This idea came from pinterest, but I never found exactly what I was looking for, so I ended up creating this on my own. This was a lot of work, but turned out so well, it was very rewarding to see how excited my niece was to receive this present.
This jean quilt was for my mom. A lady from our church gave me pre-cut jean squares, but not being really into the whole jean colour I decided to cut them into triangles and bleach them. So, yes the white triangles are still jean fabric just really bleached. I soaked them for maybe 5-10 min. in a bucket of bleach to fade them. I got a spray bottle full of bleach and just slightly bleached the other triangles. The edging of the quilt I left completely blue. 


Anyways I hope you enjoyed taking a look at all my past projects, and as I said I hope to improve on the quality of pictures, and add some tutorials. 
Have a fantastic day!!!!